"How to Tie a Tie Step by Step: 4 Easy Knots Every Man Should Know"
 By Ignacio Lopez • November 2, 2026
What's in this guide
- 1. Flip Your Collar Up and Drape the Tie
- 2. Stand at a Mirror and Check the Length
- 3. Cross the Wide End Over the Narrow End
- 4. Learn the Four-in-Hand First
- 5. Move Up to the Half Windsor
- 6. Try the Pratt Knot for a Tidy, Narrow Look
- 7. Save the Full Windsor for Wide Collars
- 8. Snug It Up and Add a Dimple
- 9. Check the Length and Tuck the Tail
- 10. Loosen It the Right Way at the End of the Day
- How to Pick the Right Knot
- FAQ
Most guys learn one knot at a wedding or a job interview, then repeat it for ten years. It sits crooked, the tail is too short, and the tie looks like it was put on in a hurry. Nobody ever explains why.
This guide shows how to tie a tie step by step. The first three steps are the setup most knots share. Then you get four easy knots, with the moves written out in plain words. Learn the four-in-hand first and add the others when you need them.
Short on time? Start here
- Easiest knot: the four-in-hand. Two minutes of practice and you have it.
- Smarter, fuller knot: the half Windsor.
- Check the finish: length and dimple take a good knot from fine to sharp.
1. Flip Your Collar Up and Drape the Tie

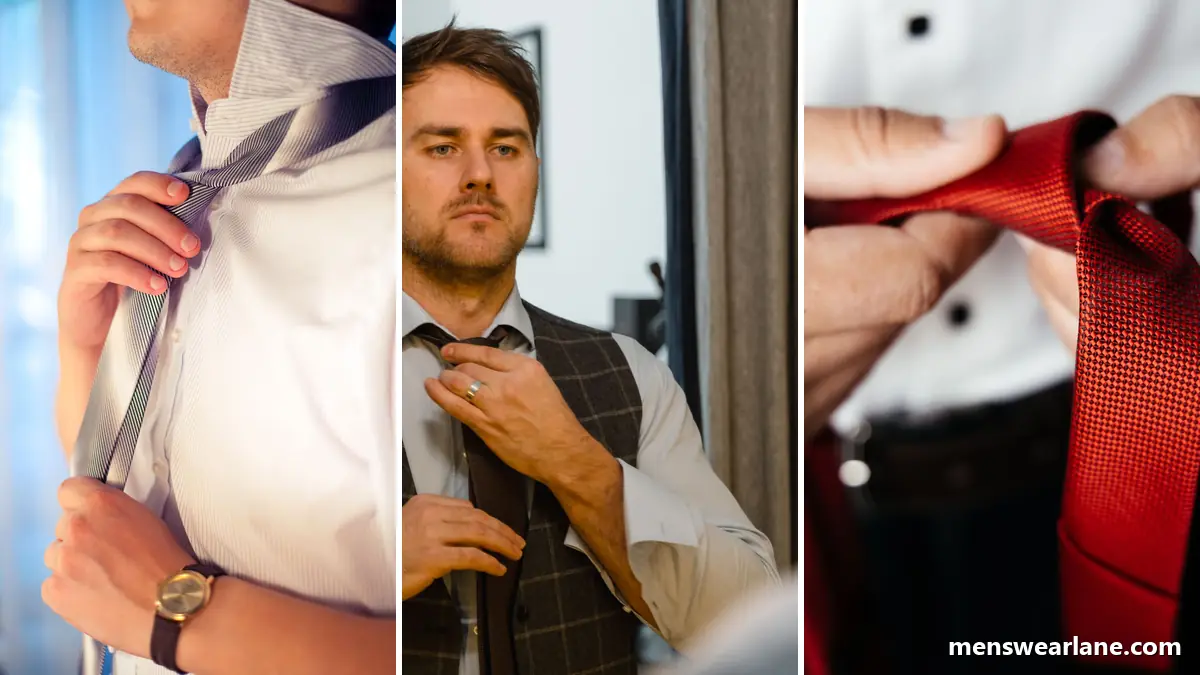
Button the shirt all the way up, then stand the collar up. Hang the tie around your neck, under the collar, so the two ends fall down your chest. In the photo the man holds one end high on his shirt and the other low, which is how you want to start.
What to do
- Button the top button of the shirt
- Collar up, tie around the back of your neck
- Wide end on your right, narrow end on your left
- Wide end hangs about 30 cm (12 in) lower than the narrow end
Tip: if the narrow end ends up longer than the wide end, you will run out of tie. Pull the wide end down and start again.
2. Stand at a Mirror and Check the Length
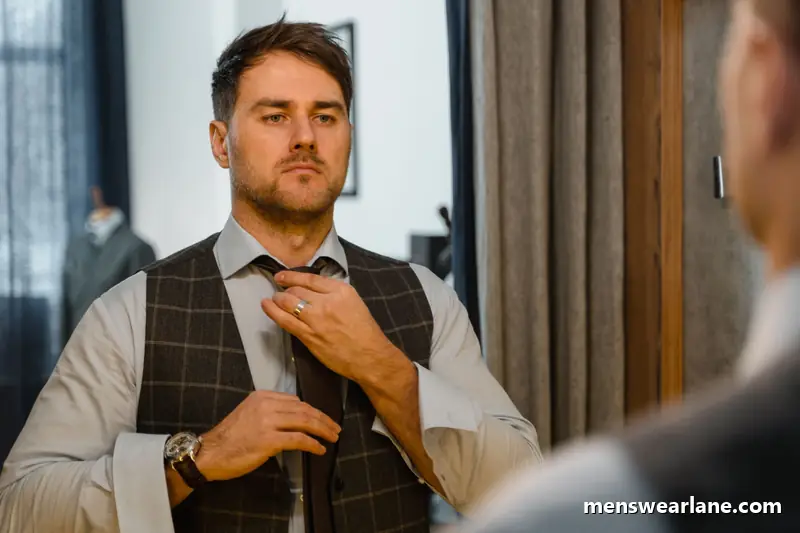
Do it in front of a mirror, like the man here. You can see where the ends sit, and you can fix a twisted tie before the knot is done. A mirror matters more than any trick.
The wide end decides where the tie finishes. When the knot is done, the tip should land near your belt. If you are tall or have a long torso, start with the wide end a little lower. If you are shorter, start a little higher.
Tip: the seam should sit on the back of the tie, against your shirt, out of sight. If it shows on the front of the knot, the tie is twisted.
3. Cross the Wide End Over the Narrow End
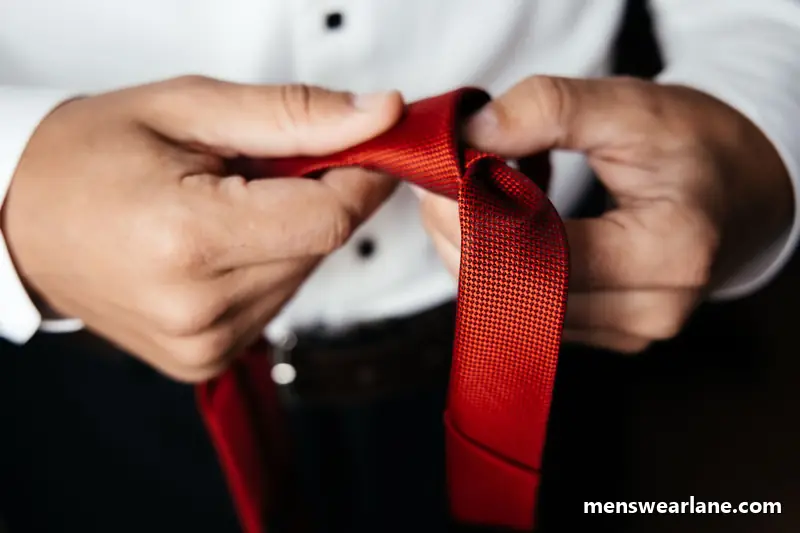
The four-in-hand, half Windsor and Windsor all start with the same move (the Pratt starts inside out, see step 6). Take the wide end and cross it over the narrow end, near the top of your chest. Pinch the point where they cross with one hand. In the photo both hands are working at the crossing, and that's where the knot is made.
Keep the narrow end still. It barely moves in any of the knots below. Only the wide end does the work.
Tip: a bright tie, like the red one here, is easiest to learn on because you can see each pass of the fabric.
4. Learn the Four-in-Hand First

The four-in-hand is the simplest knot and the one many men wear day to day. It makes a slim, slightly lopsided knot, and that's part of its charm. It suits a regular collar and any tie, and it handles thick fabrics well.
The moves
- Cross the wide end over the narrow end
- Wrap the wide end around behind the narrow end
- Bring it back across the front
- Pass it up through the loop at your neck
- Drop it down through the knot you just made in front
- Slide the knot up and tighten
Use it for: office days, school, casual dates, a shirt with a button-down collar.
Tip: don't worry if it's a little off-center. A four-in-hand is supposed to look relaxed.
5. Move Up to the Half Windsor

The half Windsor gives you a neat, symmetrical, triangle-shaped knot. It's bigger than a four-in-hand but not as bulky as a full Windsor. One hand holds the knot while the other leads the tie, as in this photo.
The moves
- Cross the wide end over the narrow end
- Bring the wide end up through the neck loop from underneath and pull it down to the left
- Wrap it across the front, left to right
- Bring it up through the neck loop again
- Drop it down through the knot in front
- Tighten and slide the knot up to the collar
Use it for: interviews, weddings, suits and any medium-weight tie. See our interview outfits with a tie for how it looks with a full outfit.
6. Try the Pratt Knot for a Tidy, Narrow Look

The Pratt knot, also called the Shelby, is a neat, medium-size knot with fewer moves than a Windsor. The difference is the start. You turn the tie inside out, so the seam faces outward, and the finished knot comes out clean with no fabric twist.
The moves
- Flip the tie so the seam side faces out
- Cross the wide end under the narrow end
- Bring the wide end up through the neck loop and back down
- Pass it across the front
- Bring it up through the neck loop once more
- Drop it down through the knot in front and tighten
Use it for: a slim or thin tie, a business shirt, a plain black tie like the one in the photo.
7. Save the Full Windsor for Wide Collars
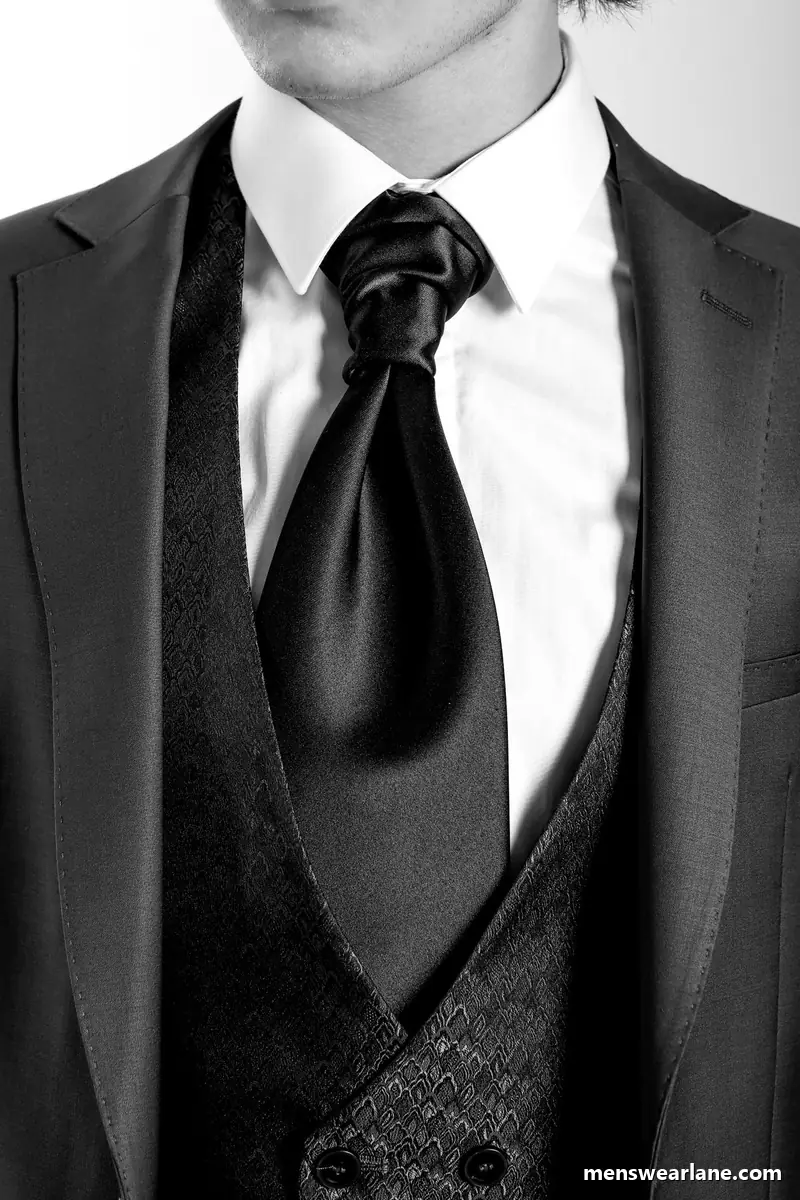
The Windsor is the biggest, fullest knot. A full knot like the one in this photo, big and sitting high under the collar, is sized for formal wear. It looks best with a spread collar and a thinner tie. With a thick tie it gets bulky and pulls the collar apart.
The moves
- Cross the wide end over the narrow end
- Bring the wide end up through the neck loop and down to the left
- Wrap it behind the narrow end, to the right
- Bring it up through the neck loop
- Pass it across the front, right to left
- Bring it up through the neck loop again and down through the front knot
- Tighten slowly and slide it up
Use it for: a formal suit, a wedding, a wide spread collar. For more dressed-up ideas, see blazer outfits for a wedding.
8. Snug It Up and Add a Dimple

A knot isn't done until it's snug. Hold the knot with one hand and pull the narrow end down with the other to close any gap. The knot should sit right against the collar, with no shirt button showing above it. In the photo the navy dotted tie sits tight and straight, which is the finish to aim for.
To add a dimple, pinch the tie just below the knot with your finger and thumb as you tighten. The little fold under the knot makes the tie look more relaxed and better made.
Tip: navy ties with a small pattern go with almost any shirt. Our navy suit color combinations shows which shirts to pair with them.
9. Check the Length and Tuck the Tail
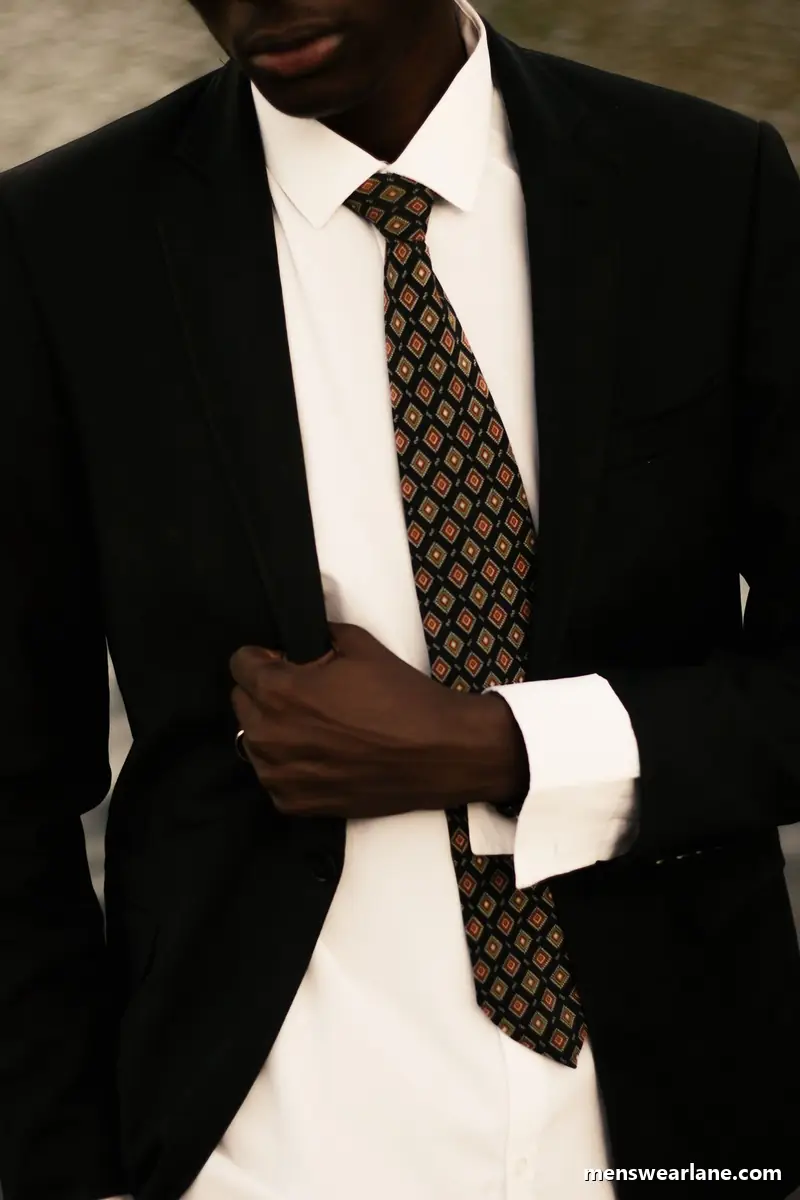
Look at where the tip finishes. It should reach your belt line, with the blazer open like this. If it hangs below your belt, you started too low. If it stops halfway down your shirt, you started too high. Untie and try again.
The narrow end should be hidden. Slide it through the small loop on the back of the wide end, if your tie has one, or tuck it behind the wide end. If it pokes out below, the tie looks messy.
Tip: a patterned tie is easy to wear with a plain white shirt and a dark jacket. For more color ideas see formal color combinations for men.
10. Loosen It the Right Way at the End of the Day
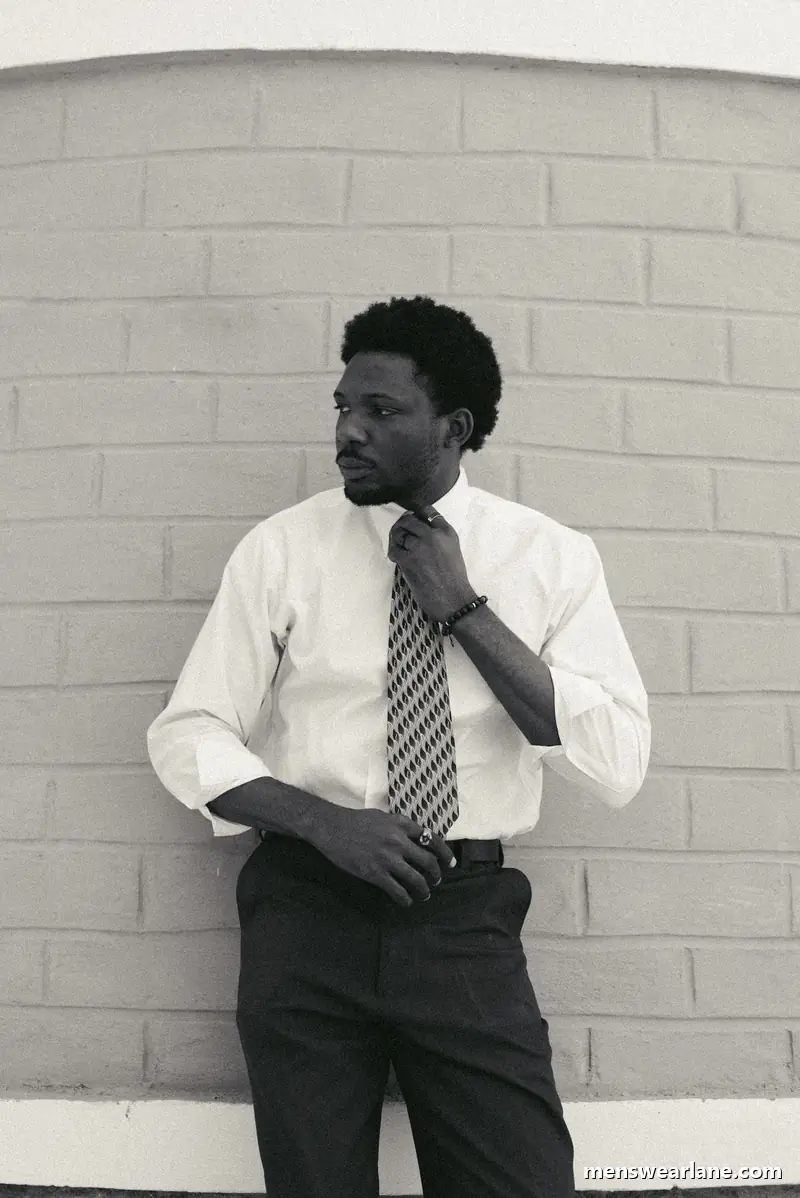
Don't pull the tie off over your head with the knot still in. That wears out the fabric and ruins the shape. Loosen the knot, slip the wide end back out of it (undo the moves in reverse), then lay the tie flat or roll it.
In the photo the man has rolled his sleeves up and his hand is on the knot. That's a good picture of the end of a long day.
Tip: don't leave a tie knotted overnight. Loosening it fully lets the wrinkles fall out.
How to Pick the Right Knot
Match the knot to the collar. A narrow collar looks best with a small knot, like the four-in-hand. A wide spread collar can take a half Windsor or a Windsor.
Match the knot to the tie. Thick wool and knit ties make bulky knots, so choose the four-in-hand. Thin silk ties can handle a Windsor.
| Knot | Size | Best for |
|---|---|---|
| Four-in-hand | Small, slightly off-center | Daily wear, thick ties, regular collars |
| Half Windsor | Medium, symmetrical | Interviews, suits, most shirts |
| Pratt (Shelby) | Medium, neat | Slim ties, business shirts |
| Windsor | Large, full | Formal events, wide spread collars |
Keep your tie tidy. Unroll it, hang it up, and don't leave it knotted. A tie that stays creased looks older than it is.
Practice with a tie you don't care about. Your first tries will be crooked. Do each knot five times and it becomes automatic.
FAQ
What is the easiest tie knot for beginners? The four-in-hand. It has the fewest moves, works with every tie and every collar, and looks good even when it's not perfect.
How long should a tie be? The tip should reach your belt line when the knot is finished. A tie that hangs far below the belt or stops short looks wrong.
Which tie knot is best for a job interview? A half Windsor is a safe choice. It's neat and symmetrical, and it works with most suits and shirts.
How do I stop my tie from twisting? Check in a mirror before you finish, keep the seam on the back, and hold the narrow end still while you work with the wide end.
About Ignacio Lopez
A men's style writer helping guys dress with confidence and build a wardrobe that feels like their own.
Learn more about Ignacio →